Terminal history and projects
Lightspot reads your zsh history and the recent-project lists of your editors, so the command you ran yesterday and the repository you were working in are a few letters away. It also opens folders in the terminal you prefer and can run admin commands with Touch ID.
Lightspot guide
zsh history
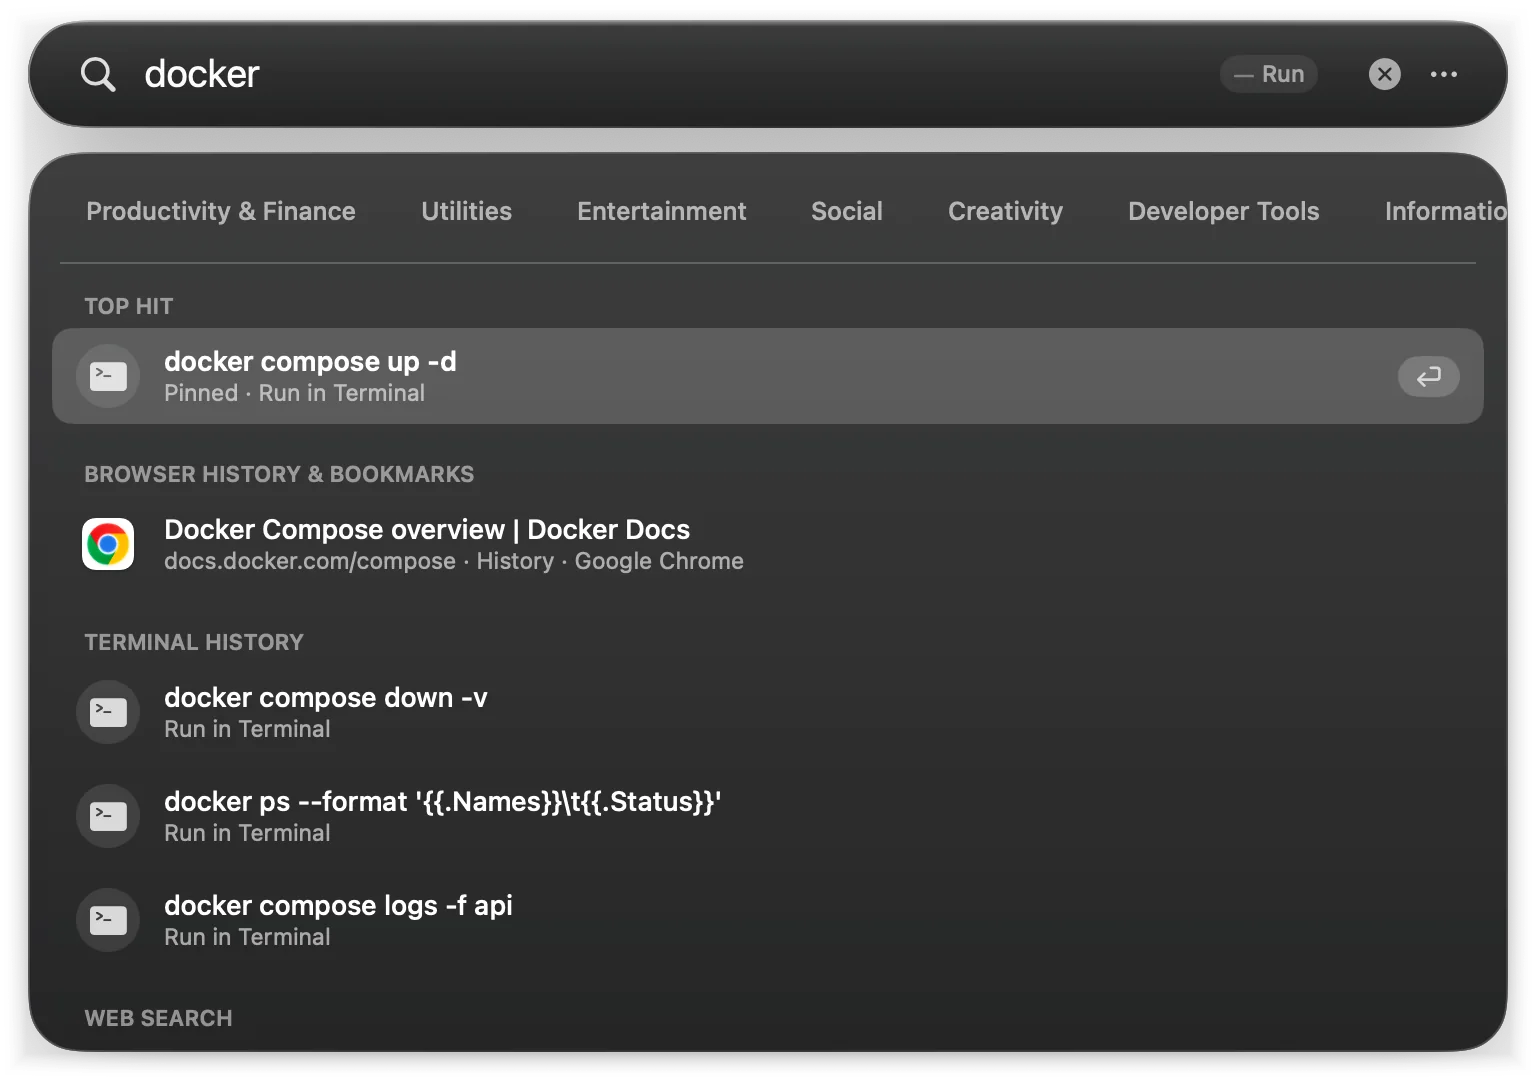
Type any part of a command you ran before. Matching commands appear under Terminal History, up to six at a time, best matches first and recent commands ahead of old ones. ↵ runs the command in your terminal.
- Lightspot reads
$HISTFILE,$ZDOTDIR/.zsh_history,~/.zsh_historyor~/.zhistory, whichever exists first. Only zsh is supported; bash history is not read. - It reads the last 2 MB of the file and keeps up to 1,200 different commands, removing duplicates and keeping the most recent copy. Commands shorter than 2 or longer than 300 characters are skipped.
- It understands zsh’s extended history format (with timestamps) and commands split over several lines, which it shows joined with
⏎. - The file is read again only when it changes, the next time you open the panel.
A history command needs at least a substring match and is never the Top Hit by chance: only a pinned command, or one you picked before for the same text, can be promoted. Lightspot launched at login usually does not see HISTFILE or ZDOTDIR, because those variables are set by your shell, not by macOS; with a custom location, the file may not be found.
Pinned commands
Select a history command and press ⌘P to pin it, or use the pin button on the row. Pinned commands get a large ranking bonus, show Pinned in their subtitle, can become the Top Hit, and stay searchable even after they drop out of your history file.
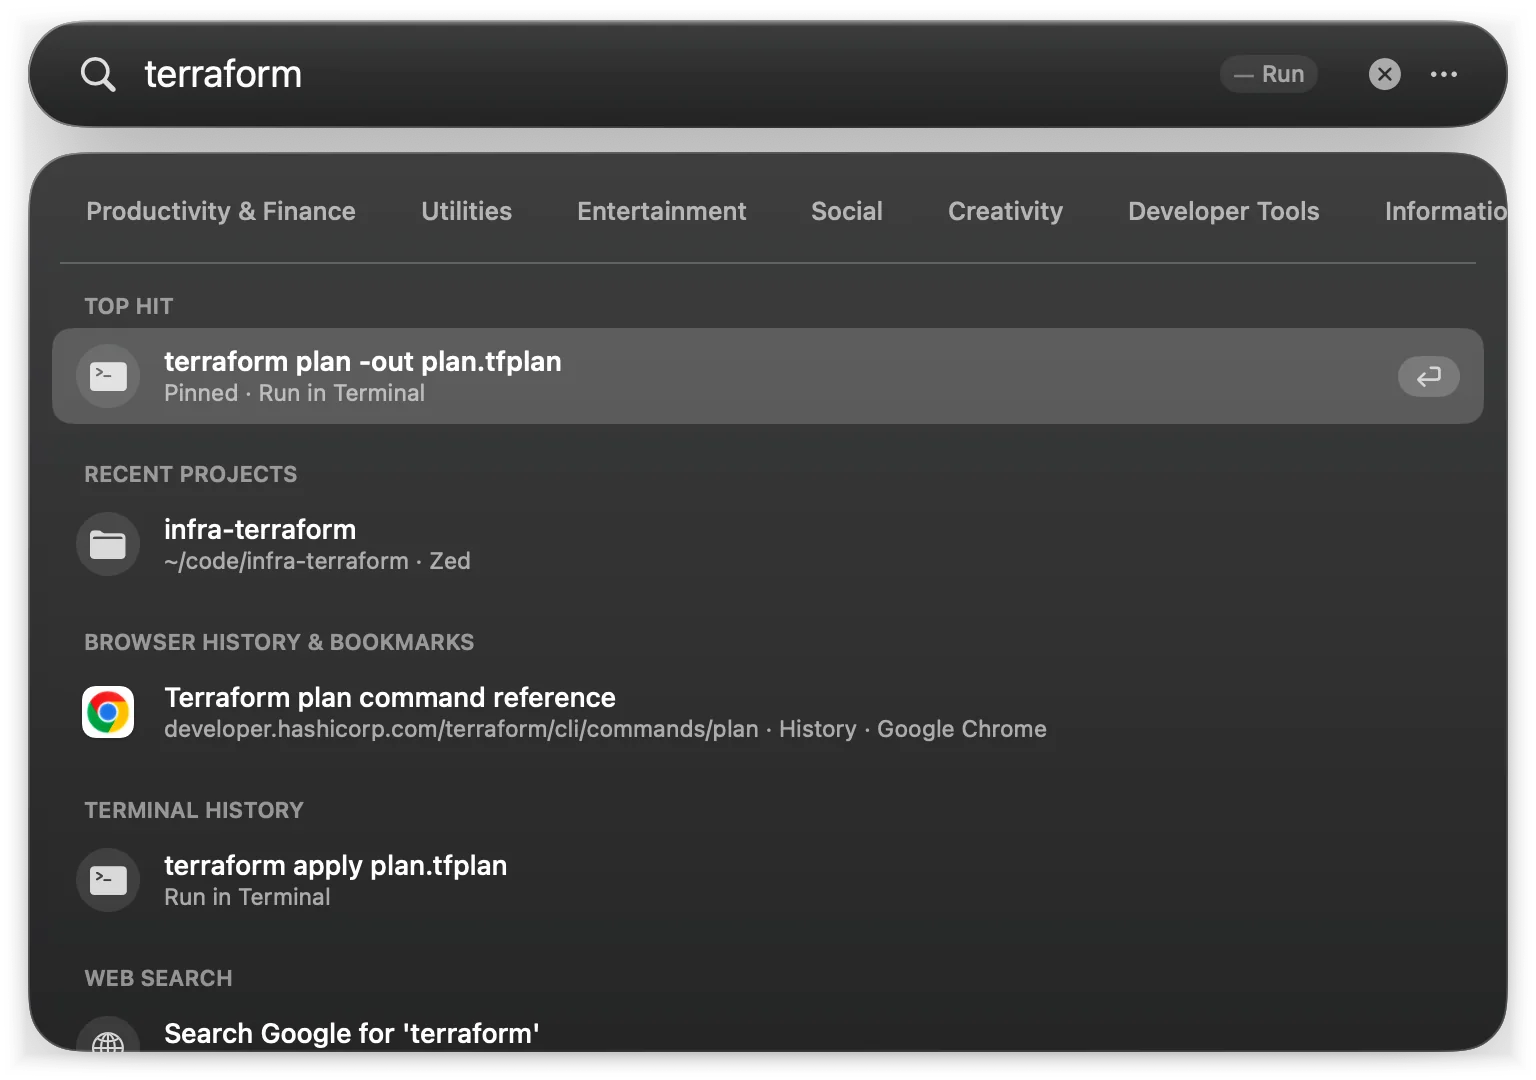
Press ⌘⇧P (or choose Pinned Commands… in the menu) to manage them: reorder with the arrow buttons, run one in your terminal, or unpin it with ⌘P. Up to 50 commands can be pinned; new ones go to the top.
Recent projects
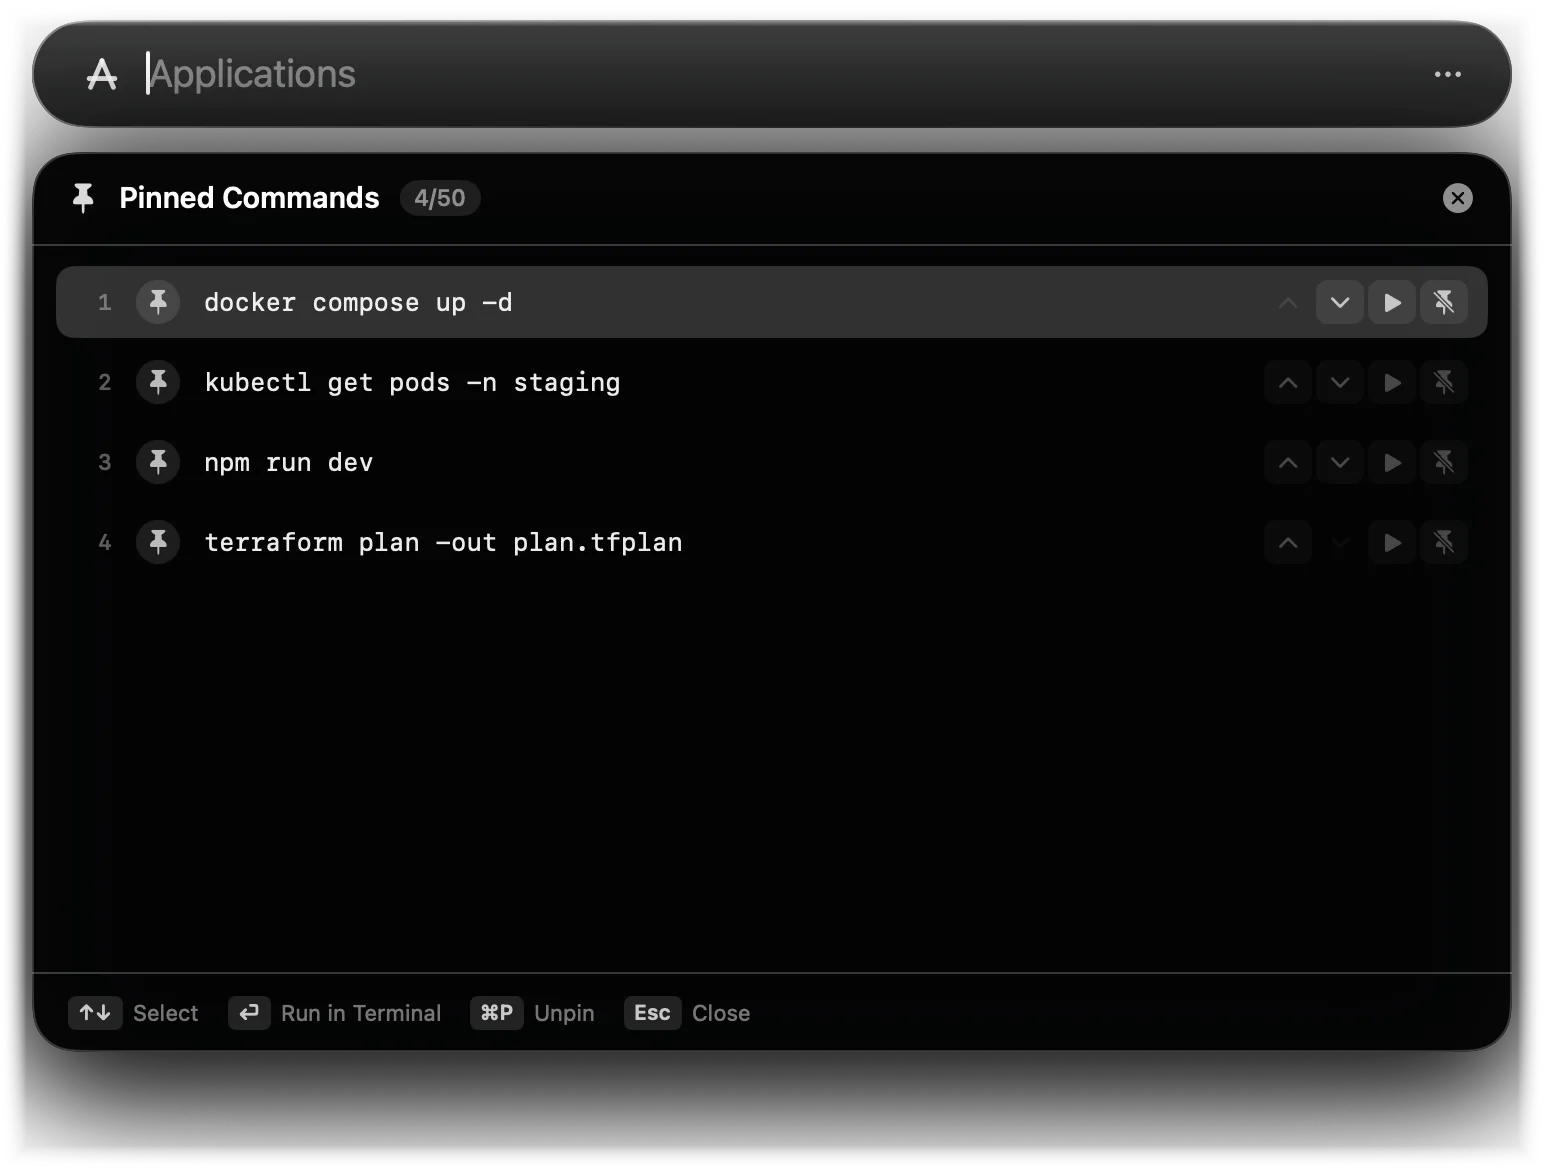
Lightspot reads the recent-folder lists that your editors keep and shows matching folders under Recent Projects, with the path and the editor that opened it.
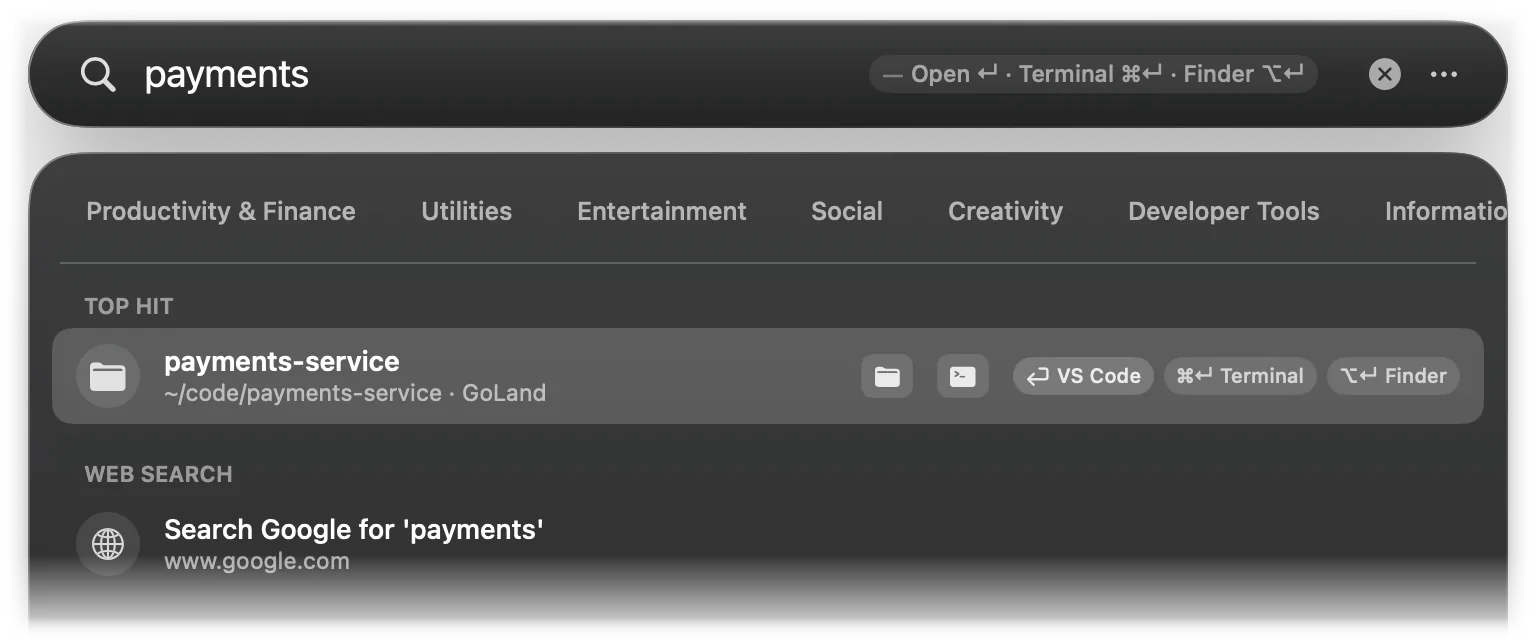
- ↵ opens the folder in the editor it came from.
- ⌘↵ opens the folder in your terminal, ⌥↵ in Finder. The two buttons on the selected row do the same.
| Editor | Read from |
|---|---|
| VS Code | ~/Library/Application Support/Code/User/globalStorage/storage.json |
| Cursor | ~/Library/Application Support/Cursor/User/globalStorage/storage.json |
| Zed | ~/Library/Application Support/Zed/db.sqlite (read-only) |
| JetBrains IDEs | ~/Library/Application Support/JetBrains/<IDE>/options/recentProjects.xml |
| Android Studio | ~/Library/Application Support/Google/AndroidStudio<version>/options/recentProjects.xml |
| Sublime Text | ~/Library/Application Support/Sublime Text/Local/Session.sublime_session |
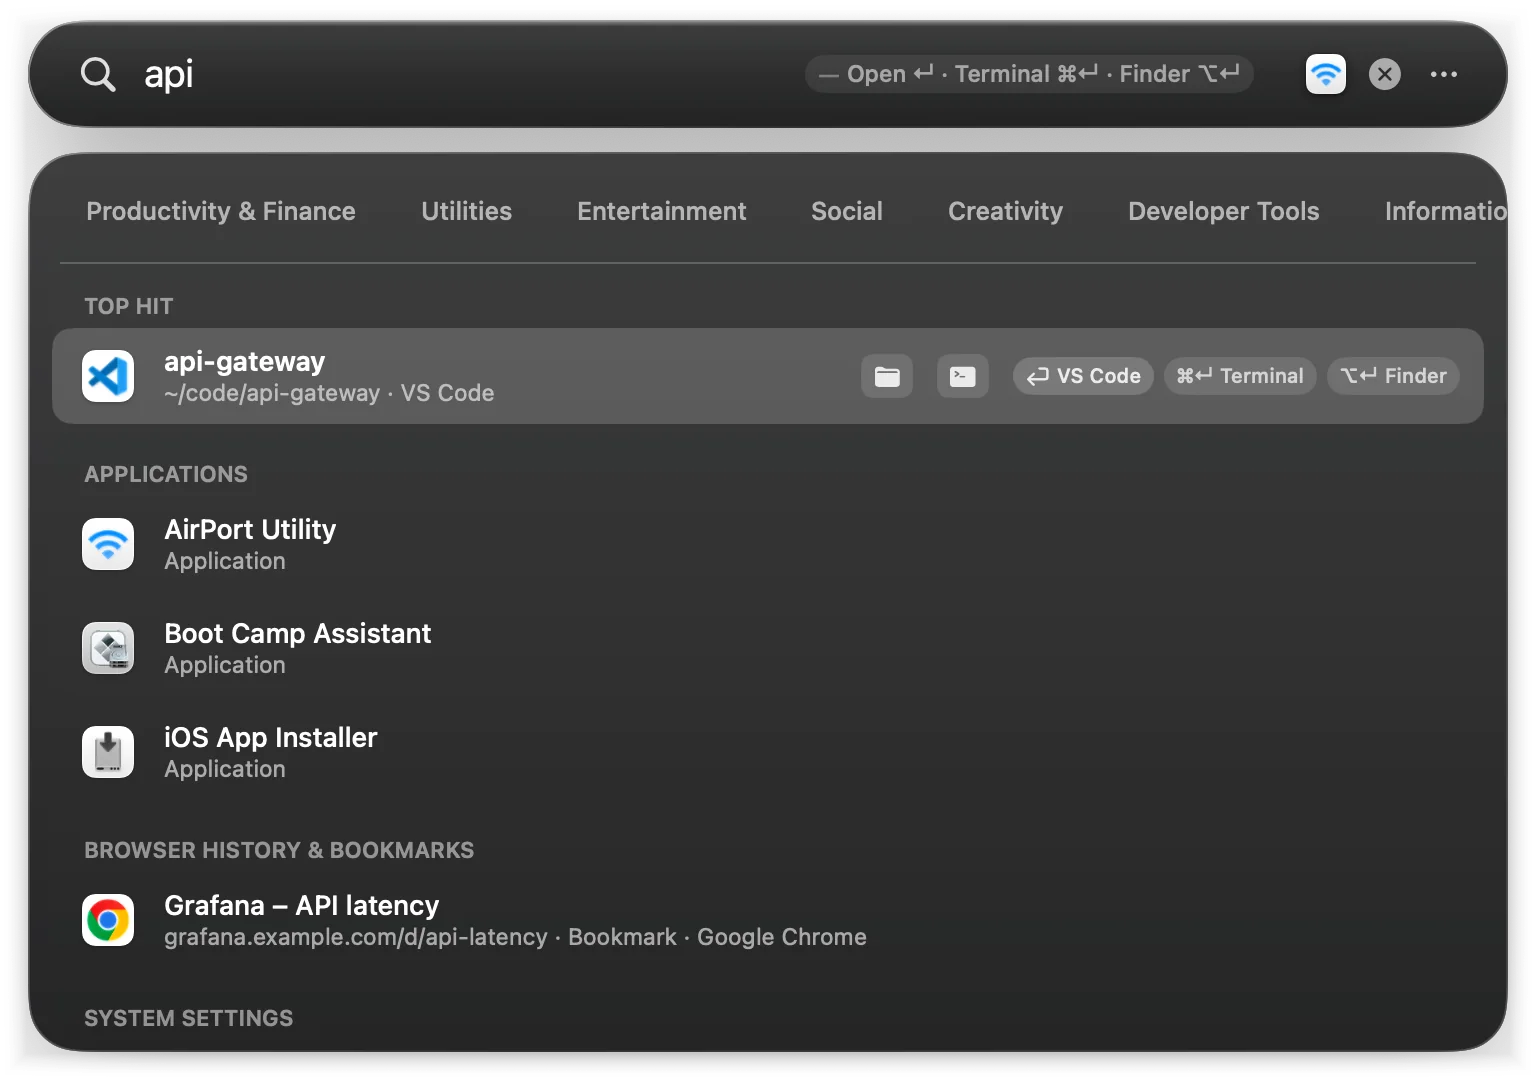
Only folders that still exist are listed, at most 75 in total, with the most recently used first within each editor; a folder opened in two editors appears once. A project appears once you type two or more letters of its folder name or path. Lightspot rereads a list only when its file changes.
Lightspot recognises these JetBrains-based IDEs by the name of their settings folder and opens each project in the matching app, including early-access builds:
| IDE | Note |
|---|---|
| IntelliJ IDEA, IntelliJ IDEA CE | Either edition, whichever is installed |
| PyCharm, PyCharm CE | Either edition, whichever is installed |
| WebStorm, GoLand, CLion, RustRover, Rider | |
| PhpStorm, DataGrip, RubyMine, DataSpell | |
| Android Studio, Android Studio Preview | Read from the Google folder |
Projects from other JetBrains tools are listed as JetBrains. When the app a project belongs to is not installed, ↵ opens the folder in VS Code if it is installed, or in Finder.
Choosing a terminal
Choose your terminal in the menu bar icon: Terminal App. The menu lists the ones installed on your Mac; Apple’s Terminal is always there and is the default. Your choice is used to run history and pinned commands, Terminal-type custom commands, and to open project folders.
| Terminal | Running a command | Opening a folder |
|---|---|---|
| Terminal (default) | AppleScript: do script | Opens the folder in Terminal |
| iTerm2 | AppleScript: new window, write text | Opens the folder in iTerm2 |
| Ghostty | open -n -b com.mitchellh.ghostty --args -e <shell> -l -i -c … | --working-directory=<folder> |
| Kitty | open -n -b net.kovidgoyal.kitty --args <shell> -l -i -c … | --directory <folder> |
| WezTerm | open -n -b com.github.wez.wezterm --args start -- <shell> -l -i -c … | start --cwd <folder> |
| Alacritty | open -n -b org.alacritty --args -e <shell> -l -i -c … | --working-directory <folder> |
| Warp | Runs in Apple’s Terminal instead (see below) | warp://action/new_tab?path=<folder> |
Ghostty, Kitty, WezTerm and Alacritty run the command through your login shell (<shell> is the one set for your account, usually zsh) in a new window, which then stays open with a shell. Warp cannot be handed a command to run, so with Warp selected, history, pinned and Terminal-type custom commands run in Apple’s Terminal, while folders still open in Warp. If the chosen terminal has been uninstalled, Lightspot uses Apple’s Terminal. The custom commands manager shows the app that will actually run each command.
Terminal in the current Finder folder
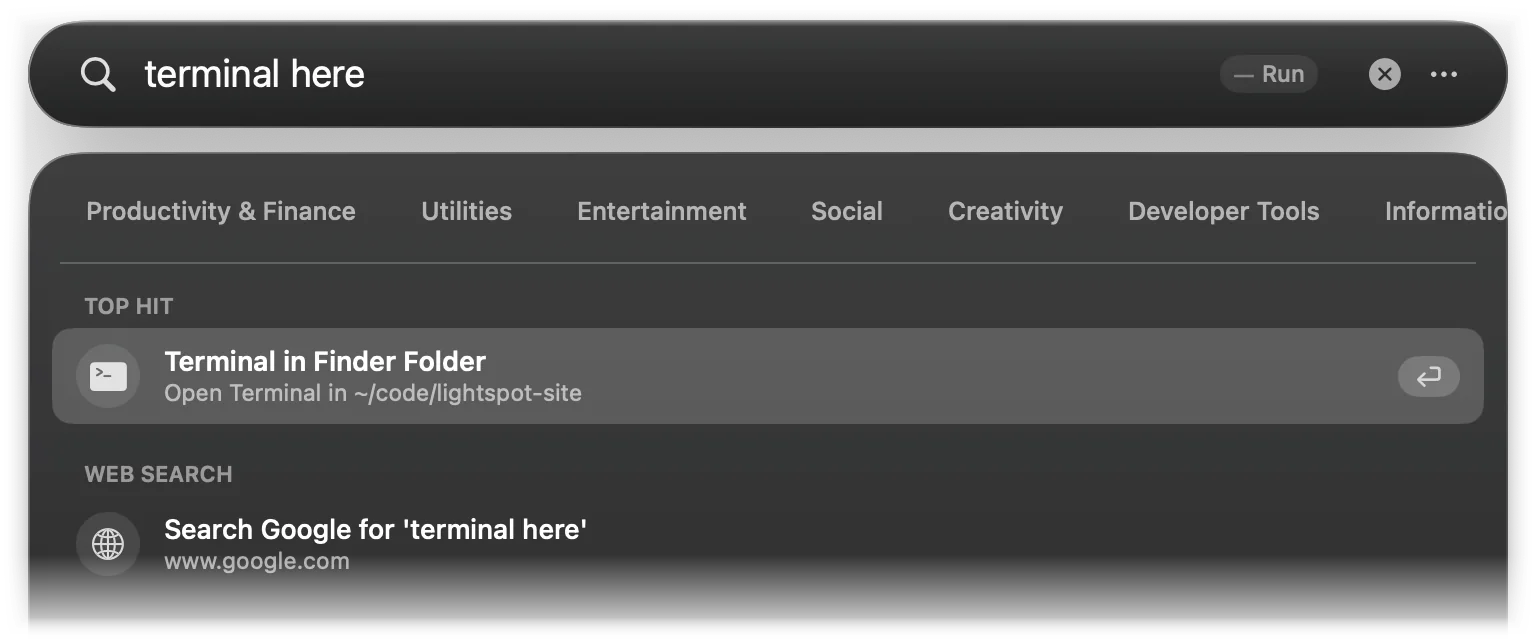
Type terminal here or term here to open your terminal in the folder of the frontmost Finder window, or in the folder selected in it. The row only appears when a Finder window is open. Lightspot asks Finder for the folder through AppleScript, so macOS asks once for permission to let Lightspot control Finder.
sudo with Touch ID
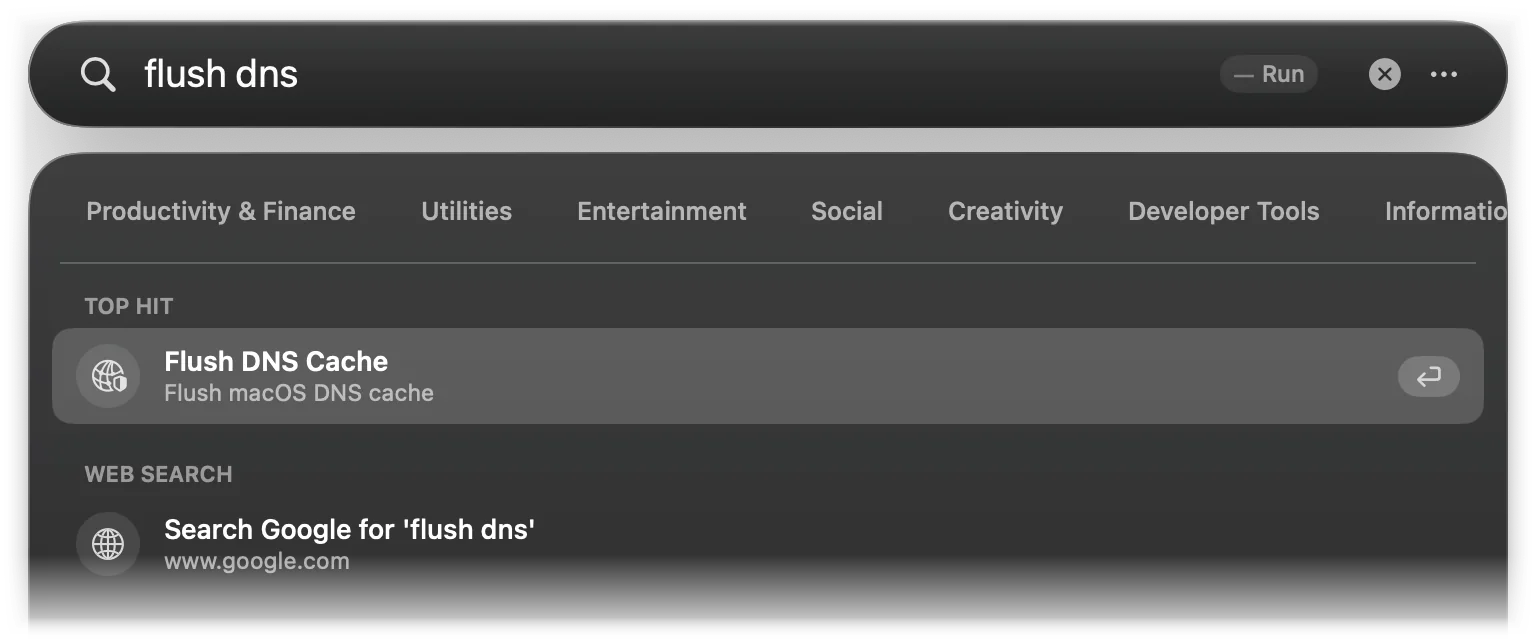
Some quick actions need administrator rights: Flush DNS Cache (dscacheutil -flushcache; killall -HUP mDNSResponder), Purge Inactive Memory (purge), killing another user’s process, and any custom shell command that contains sudo. Lightspot runs them in one of two ways:
- If Touch ID for
sudois on, it runssudoinside a hidden terminal session, so the Touch ID prompt appears and no Terminal window opens. If sudo asks for a password instead, Lightspot stops and falls back to: - The standard macOS administrator password dialog.
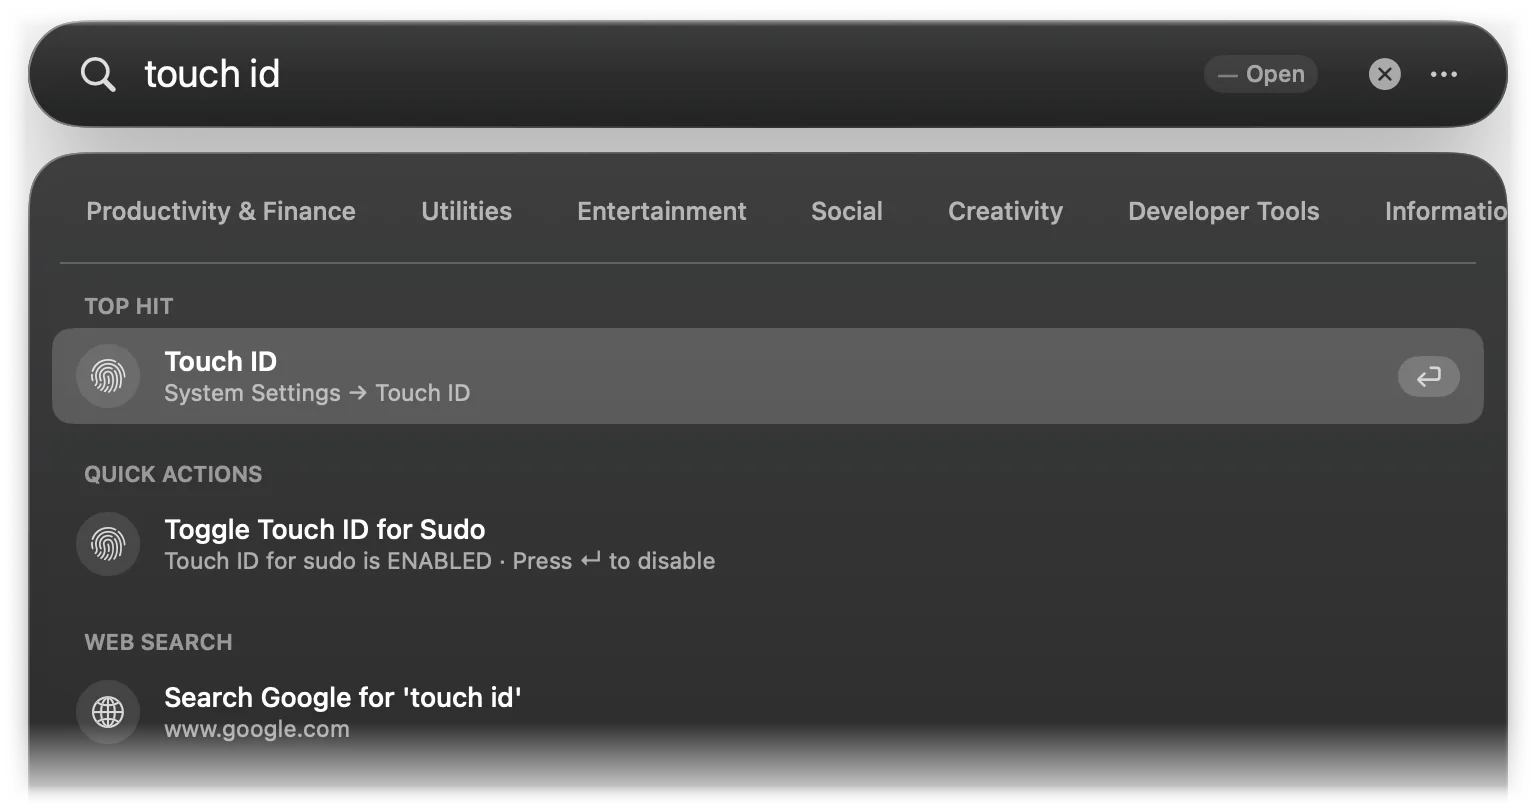
Type touch id or sudo to find Toggle Touch ID for Sudo. Its subtitle says whether Touch ID for sudo is on. Pressing ↵ (after your password) turns it on or off for every terminal on the Mac, not only for Lightspot, by editing /etc/pam.d/sudo_local, Apple’s file for local sudo settings that survives macOS updates:
- On: uncomments or adds the line
auth sufficient pam_tid.so, creating the file from Apple’ssudo_local.templatewhen it does not exist. - Off: comments that line out again.